Many safety-relevant components and structures in industrial environments are under high mechanical and/or thermal loads. Even small defects such as internal corrosion, material fatigue, or cracks in welds can be a decisive factor for the failure-free operation or malfunction of such systems and plants. Major quality assurance methods, which have been established for ages and used to this day, frequently rely on manual nondestructive inspection concepts basing on handheld ultrasound or eddy current sensor systems; if necessary, additional electromagnetic testing procedures can also be applied.
In conventional testing, the component to be examined is selectively scanned with a probe moved along a grid pattern. The measuring signal is displayed on the test instrument in a simple format and directly interpreted by the testing engineer during the inspection. The test log is mostly handwritten, and often the deviations found are but labelings on the components. During this process, the testing engineer does not receive any technical support: Interpreting the measured values continuously and correctly, checking for complete coverage of the inspection area, and generating the test log require a high level of expertise from the testing engineer.
This is where the complete and correctly collected data acquisition enabled by a modern display and simultaneous digital data analysis can open up enormous potential. The test design, which is based from the ground up on digital, intelligent data collection and online analysis, as well as on digital information presentation that is condensed to the relevant data, provides an enormous innovation boost for nondestructive testing: The 3D SmartInspect test assistance module developed at the Fraunhofer IZFP ushers in a new era for modern and highly flexible human-based manual testing. ”3D SmartInspect” is an example for a pioneer NDT 4.0 technology in the context of integration of and into digital environments.
The digital recording of the manual testing and handling process by cameras, tracking of the probe position, automated measuring signal analysis and the generation of digital test logs result in a new class of inspection systems that significantly facilitate the performance, analysis and control of manual tests. At the same time, due to its integration into and merging with the virtual world (Augmented Reality), this assistance can also be performed by non-specialized personnel.
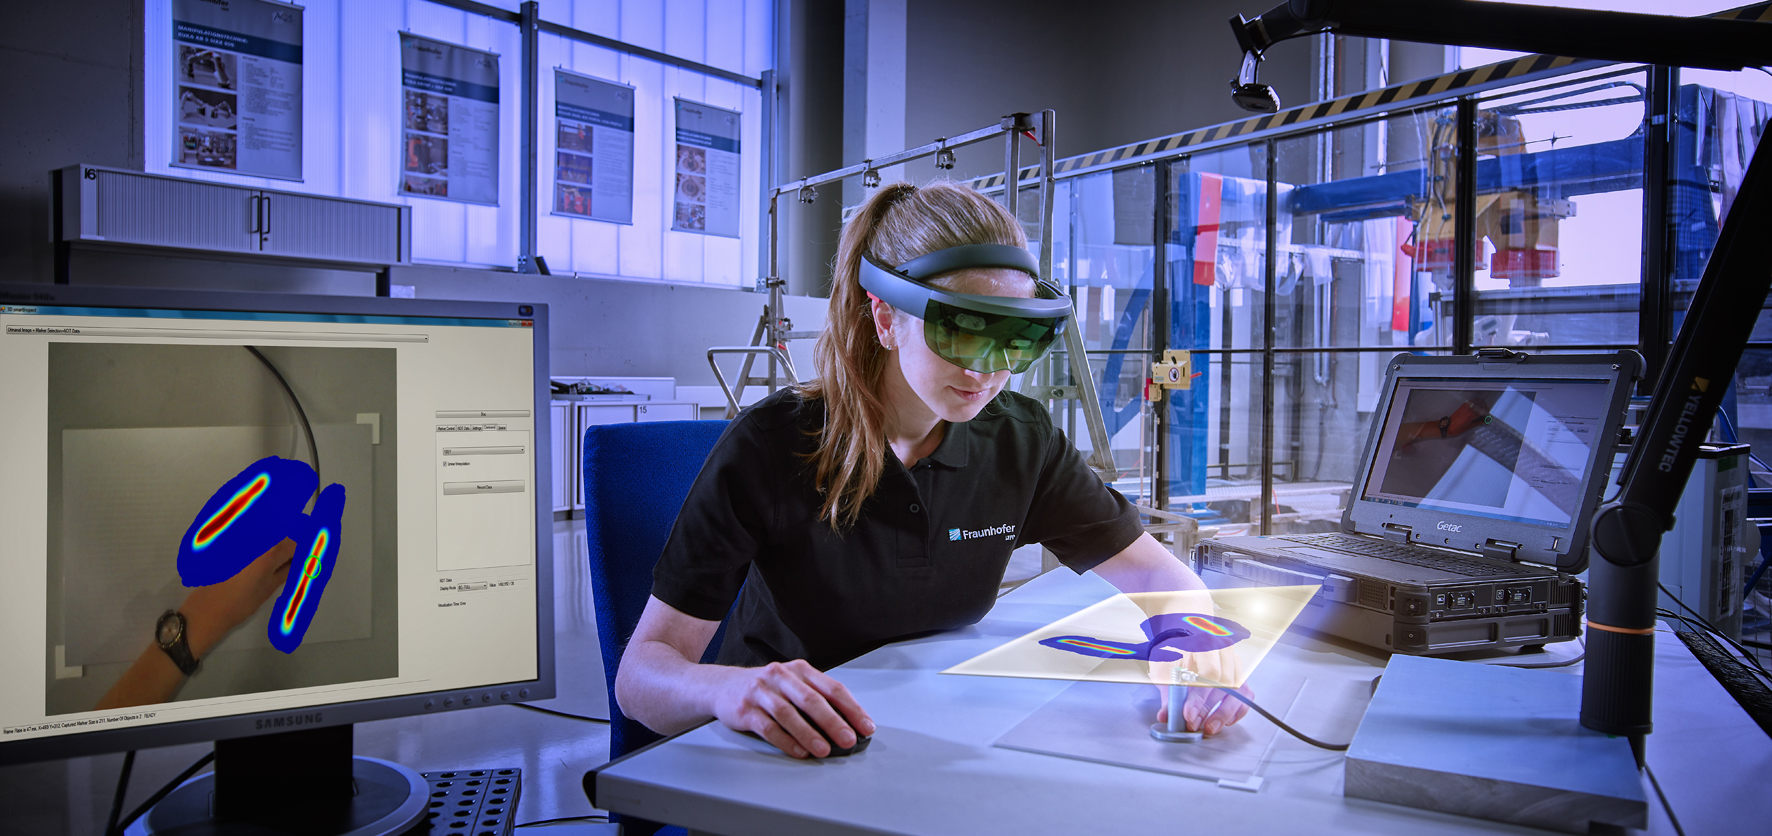
The Fraunhofer IZFP has implemented the first prototype of the 3D SmartInspect assistance system based on eddy current and ultrasound sensors. The system interactively supports inspectors in manual testing processes and enables the automated simultaneous documentation of the testing process including the electronic transmission of the resulting data.
All that needs to be done before the test is setting up the camera system in a suitable location that allows the visual capturing of the area to be tested; then the tester can begin to perform the test. The tracking module will detect and track the movements of the probe and log the test positions and measured signals. These signals will be automatically analyzed and merged with location coordinates in the live image. Using Augmented Reality (AR), the tested areas and registered defect indications (e.g., internal defects) will be displayed for the tester on a display (laptop or tablet). In addition, the test result can be inspected by means of a head-mounted AR display (MS HoloLens) and transmitted electronically to a server or a datacenter ”anywhere in the world”.
Thus, 3DSmartAssist sensors are step-by-step becoming an integral part of the Internet of Things. The data, which have been further processed to extract relevant information, can simply be transmitted to the digital product and material memory and stored in a suitable manner. A combination with collaborative robotics will open up completely new applications in Human-Machine Interaction (HMI) for use in industry.
 Fraunhofer Group for Materials and Components - Materials