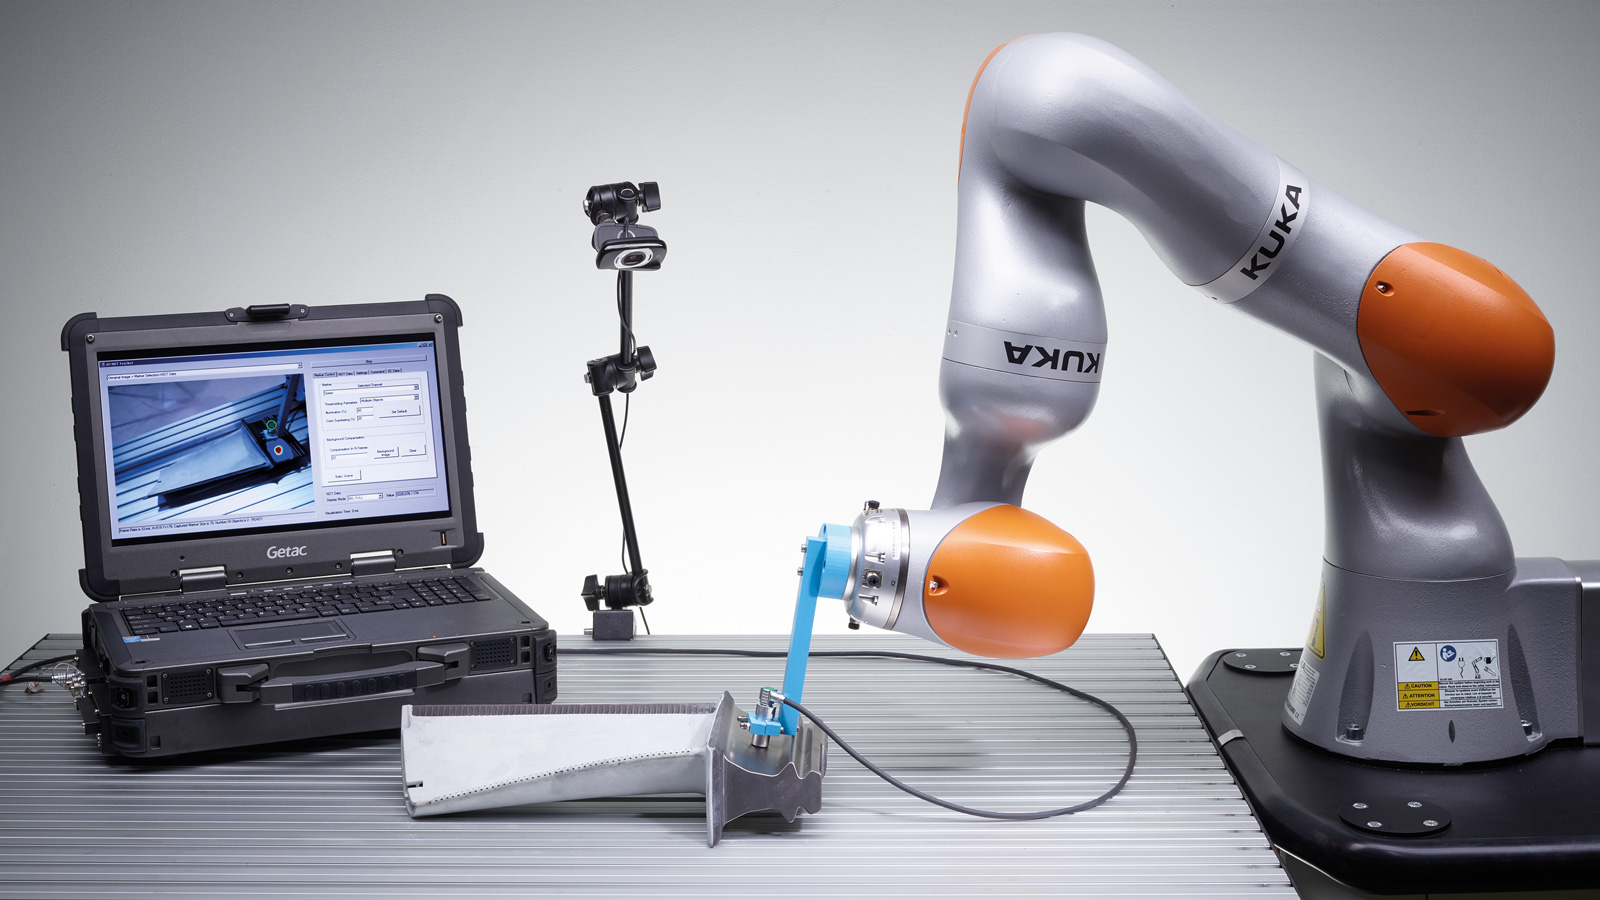
Looking inside materials the smart way
Aircraft, trains and power plants have to be inspected regularly. Detecting damage too late could pose safety risks and often results in expensive downtimes. Now, researchers are using the 3D SmartInspect sensor and inspection system to transfer established testing routines into tomorrow’s digital world.
- Detecting material defects in structures susceptible to wear such as in technical installations or in aircraft components is a difficult process: inspectors completely rely on their own experience.
- The 3D SmartInspect system offers help for the future.
- Fraunhofer researchers will be presenting the new technology at the Hannover Messe Preview on February 9 and at the Hannover Messe, April 24–28, 2017 (Hall 2, Booth C22).
Just as cars in Germany need to be inspected every two years to ensure they are safe, other safety-critical objects – turbines, generators or high-pressure containers, for example – have to be examined regularly as well. This is especially important when the materials and products used are pushed to their outermost performance limits in order to increase economic efficiency. To carry out these assessments, inspectors receive a printout map of the factory grounds to help them find their way. Once they locate the structure to be inspected – say, a high-pressure container – they inspect it with help from a sensor. The difficulty is that they have to inspect the entire surface. But which parts have they already evaluated with the sensor, and what still needs to be done? Inspectors also have to undergo a lengthy training process and need a great deal of experience in order to reliably gauge the condition of the various objects to be examined. It is hard to find experienced engineers for this.
Recording 100 percent of the data
Support is on the way: the Fraunhofer Institute for Nondestructive Testing IZFP has developed 3D SmartInspect for intelligent inspection and quality control. “With it, inspectors know exactly what has already been measured as well as the results of those measurements. The system also automatically generates a digital protocol,” explains Prof. Bernd Valeske, head of department at IZFP and head of the Fraunhofer Innovation Cluster Automotive Quality Saar AQS. Compared to existing processes, 3D SmartInspect is a quantum leap. Even relatively inexperienced inspectors could be employed in the future, and the training process could also be shortened significantly.
In day-to-day work, the process would look like this: inspectors wear augmented reality (AR) glasses, though the system works with a tablet PC or a smartphone too. They view the object to be examined – let’s take the high-pressure container again – through the glasses. As the inspectors run the sensor over the object, the corresponding area on the glasses’ display changes to green while the rest of the container retains its original color. This assures inspectors that they have examined every inch of the object. At the same time, the system constantly verifies that the sensor data has been recorded correctly. “Not only can inspectors be sure that they have collected 100 percent of the data, they also know that the measurements are valid,” says Valeske.
A direct route to the digital age
Once all data has been acquired, inspectors can see the results immediately on their AR glasses. Areas with any kind of a defect – a cavity where it doesn’t belong, or corrosion – appear red on the display. Inspectors can immediately indicate where the repair team needs to intervene, either by using chalk on the actual object or via digital means. Control center experts can also examine all the data as soon as it has been collected – how serious is the detected flaw? Does the repair team need to be called out at once, or can maintenance wait a few days?
Digital testing memory
Generating a test protocol will also be much simpler. Currently, inspectors have to laboriously document their work and then allocate the data to the object measured – a method prone to errors. With 3D-SmartInspect, data is automatically and clearly assigned to the object and writing a protocol is unnecessary. Using the smart assistant sensor systems, engineers can accurately collect the relevant data and capitalize on it in the digital product memory – at every stage of the product lifecycle. “Until now, transferring data to the digital world was not a high priority. In the future, we will have a digital testing memory and can embed data automatically in digital systems. This is a very important step, particularly in the context of Industrie 4.0,” explains Valeske. Digital approaches such as these offer enormous economic advantages because they significantly reduce – if not completely eliminate – downtimes.
An initial prototype of 3D SmartInspect has already been completed. Fraunhofer researchers will present it, currently using a tablet PC, at the Hannover Messe Preview on February 9 and at the Hannover Messe, April 24–28, 2017 (Hall 2, Booth C22). For the next step, the researchers are working on transferring the system to AR glasses.
PR Officer / Editorial Notes: Dipl.-Übers. Sabine Poitevin-Burbes | Fraunhofer Institute for Nondestructive Testing IZFP | Phone +49 681 9302-3869 | Campus E3.1 | 66123 Saarbrücken, Germany | www.izfp.fraunhofer.de | sabine.poitevin-burbes@izfp.fraunhofer.de
 Fraunhofer Materials